![]()
|
|
|
Phase
II The
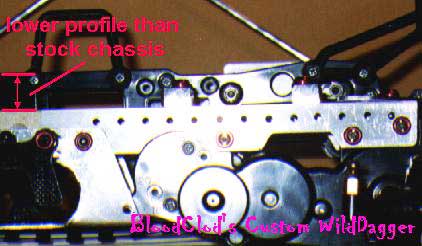
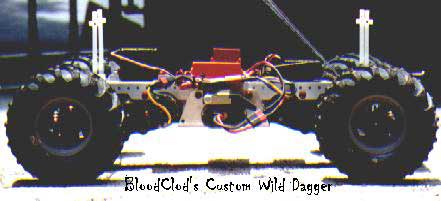
Chassis On the right the custom chassis has a much lower profile than the stock setup. This pic shows the differences when the 2 chassis are placed side by side. This lowers the CG and helps in handling. Servo
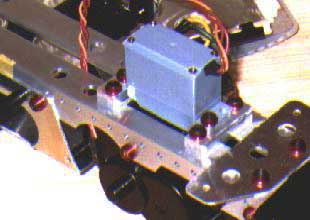
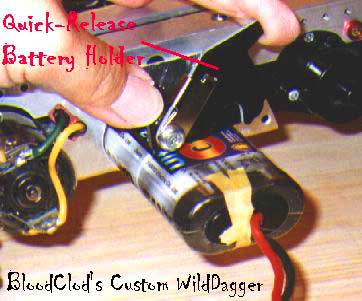
Mount and Battery Holder The middle pic showas the servo installed. This setup is allows the steering servo to be accessed very easily, removing the steering servo on the stock chassis was quite a chore. On the right, the Tamiya Quick Release Battery Holder was just too trick to pass up. No more snap pins for me! Its spring loaded so all you do is lift up the end-piece, slide your battery in and let it go. Simple! With
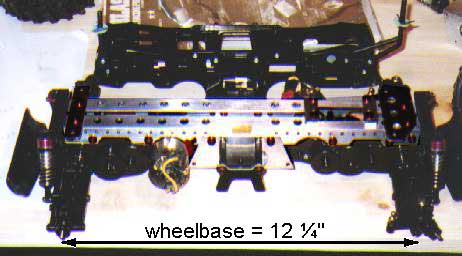
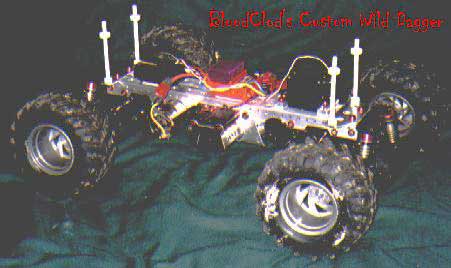
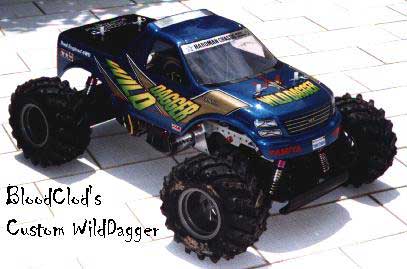
Wheels and Body In the middle pic the electronics installed and fully loaded. The chassis was designed based on a few guidelines: lightweight, strong, low-profile/CG, good balance & longer wheelbase for optional clod tires. I’m still running the stock Mabuchi 540s and standard servo on this truck. It was always intended as a budget basher that I didn’t intend to hop-up, but I couldn’t resist and built the chassis.
Performance:
The stability also shone as I took the truck hill climbing. It was tackling some grass slopes as steep as about 60 degrees pretty easily. Im pretty sure it will lose some of this climbing prowess if I put in some clod wheels though because the raised height would probably cause the truck to tip backwards... but in this configuration this baby can sure climb! In the course of the bashing I hit some tree roots and the truck flipped several times down the hills, but it was good to see that it was unhurt. Its lighter than my clod and A-1 so it doesnt really flip as hard. Verdict:
Click here to proceed to Phase III. |