|
Damage
Report (3 November 2001)
The report is divided
into the following sections:
The
Damage:
Today I was initiated - into the club of TXT-1 owners who have bashed
their trucks hard enough to strip out a ball-end from the suspension link.
I had freshly charged packs and went off to my regular bashing haunt -
only to find that it was closed for "upgrading works". So I
was left with just trying doing some speed runs and jumps on the street
outside my house.
I was having fun driving
the truck in reverse (the rear right wheel lifts off the ground!) when
I discovered that steering wasn't that easy... then bam... the truck backed
into a drain at about 60% throttle.
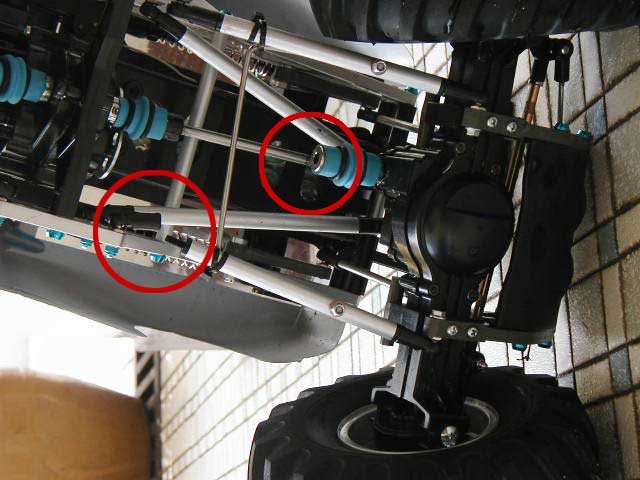
Damage report:
- The ball that threaded
into the rear bumper for rear-steering lockout had come loose. The material
the bumper is made off is flexible so this wasn't too much of a surprise.
The short threaded portion didn't really provide much anchoring power
anyway.
- The universal driveshaft
came loose at the axle joint. No biggie - just needed to re-attach and
tighten the grub screw again.
- The universal shaft
could not have come off if all the suspension links had remained intact.
Sure enough, one of the ballends had been stripped off the threaded
rod. Again, this was not a surprise - while Tamiya was thoughtful to
provide these slop-free rod-ends, the material they were molded from
wasn't very strong. Quite a few guys have experienced this when running
the trucks hard.
- My anti-sway bar
for the rear was bent out of shape.
Now for the fix! :)
 Back To Top
The
Fix:
Some of the parts were easy to fix. I replaced the rear lockout threaded
ball with a ball and screw - just made sure that the screw was long enough
to give it more anchoring power. I think on a hard crash it'll still strip
out though... but it'll hold for now. (and probably for a long time too
if I stay away from driving in reverse...). The universal was re-attached
and the anti-sway bar was bent back to shape with the front one as a guide.
The suspension link took a little longer to fix.
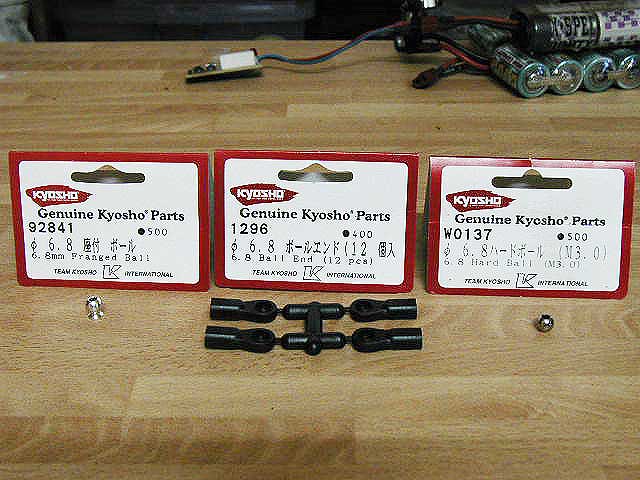
I decided to replace
all the suspension rod-ends with the stronger Kyosho ones. Here's what
was needed:
| Kyosho
No. |
Description |
Quantity |
Remarks |
| 92841 |
6.8mm Flanged Ball |
2
packs |
can be replaced with parts shown below. |
| 1296 |
6.8
Ball End (12 pieces) |
2
packs |
- |
| -- |
3x20mm
countersunk screw |
16
pcs |
- |
92841 Flanged Ball
can be replaced with the following parts
| Kyosho
No. |
Description |
Quantity |
Remarks |
| W0137 |
6.8 Hard Ball
(M3.0) |
2
packs |
can be replaced with parts shown below. |
| -- |
Conical
washers |
16
pcs |
- |
The fix is easy actually
and mainly involves replacing all the rod-ends with the Kyosho ones and
the balls with either the Flanged Balls (92841) or the Hard Balls (W0137).
When using the Hard balls, remember to use conical washers between the
balls and attaching surfaces to give the joint a greater range of movement.
Countersunk screws are used over normal capped screws for the same purpose.
One important thing
to note however, is that the Kyosho rod-ends are longer than the stock
Tamiya ones. To maintain the same wheelbase, I did the following:
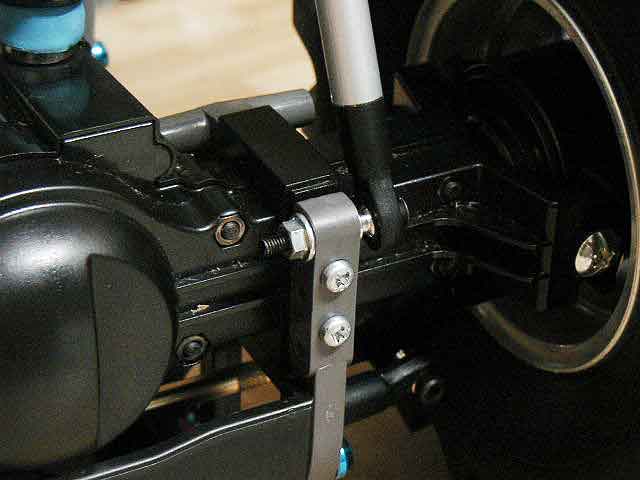
For all lower suspension
links, remove the black spacers that go on the threaded rods before the
rod-ends do. WIthout these spacers, the Kyosho ends fit on without modification.
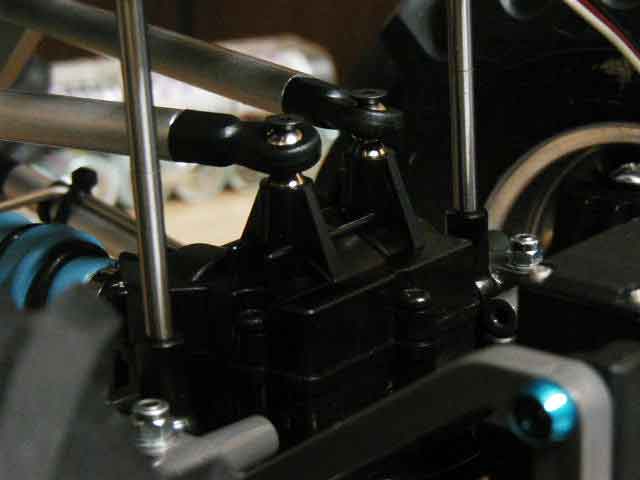
For the upper suspension
links, you will need to cut away 3mm of the Kyosho rod-end to make it
the right length. Use a sharp hobby knife and the material is actually
very easy to cut. Measure to ensure that length is correct. If it's just
a little long, a little sanding (I used 240 grit paper followed by 600
grit) is all that's needed to get the size just right.
Remember to use thread
lock when threading the threaded rods into the suspension link-rod.
It may sound easy
but I took over 4 hrs to complete the whole job (with a few short breaks
in between though) and fingers were a little sore after all the rod-end
work.
Back To Top
Conclusion
The TXT-1 is a very tough truck out of the box, but it still has it's
weak spots - one such spot is the rod-ends in the suspension links. As
I mentioned earlier, I was very happy with the slop-free rod-ends that
Tamiya included in the kit, but as many have discovered, the material
that these rod-ends are made off are a little on the soft side and on
hard bashing (or accidents) the rod-ends can strip clean off the threaded
rods.
Changing these rod-ends
doesn't take a genius, but I really think it would be easier just installing
them from the very start. If you have the spare cash when buying the kit,
invest in these and put them on from the start... you won't regret it.
Back To Top
Pictures
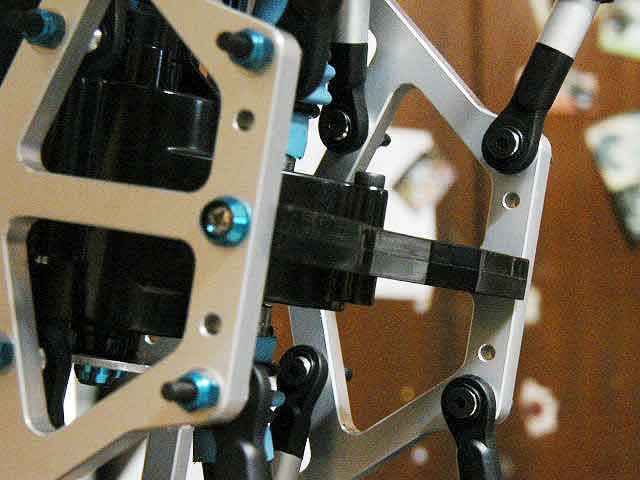
Check out the pics of the damage and fix:
 |
 |
 |
 |
 |
| Damage pic |
Parts pic |
Upper mounts
fixed |
Lower mounts
fixed |
Chassis connections |
Feel free to send me
any of your comments through email.
:)
Back To Top
|