![]()
|
|
|
Phase
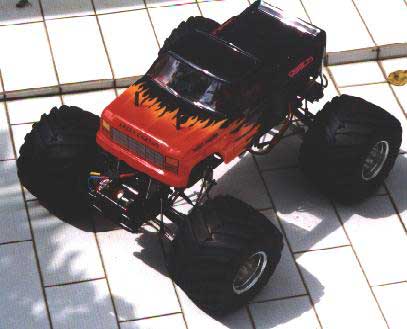
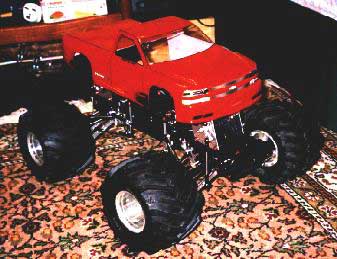
I Body
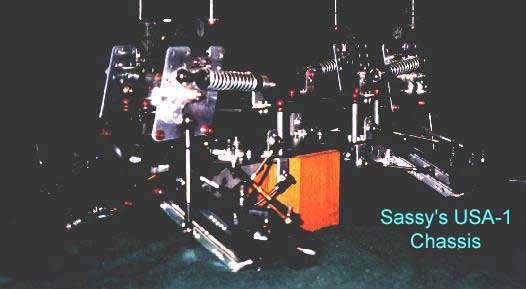
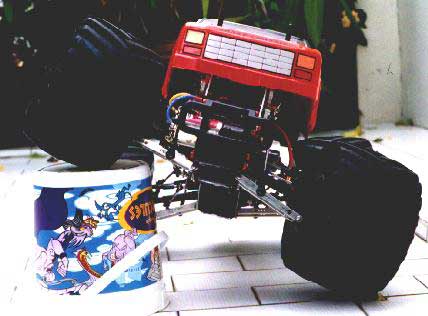
Pics In the last picture you can see the stock 550 Mega Motors. I was going to get some mod motors but someone suggested I try these first and I liked them so much I stuck with them. These motors give a lot of torque and with the USA-1's stock gearing (which is on the high side) it still delivers pretty impressive speed. In the pic you can also see the Sassy extended lower A-arms which widen the truck's stance for more stability. Sassy
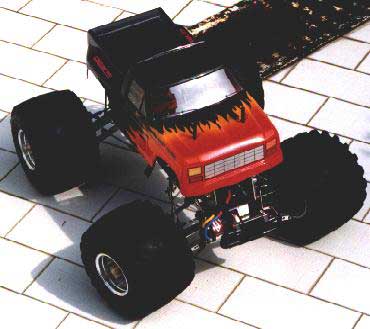
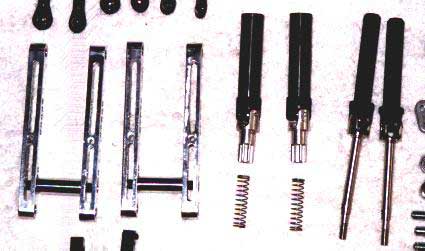
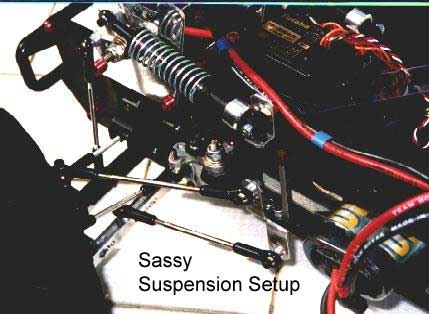
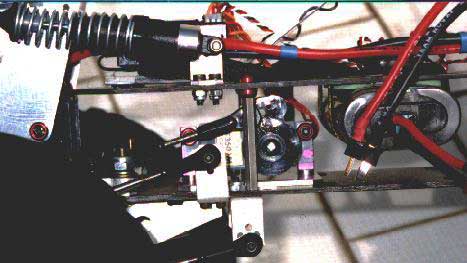
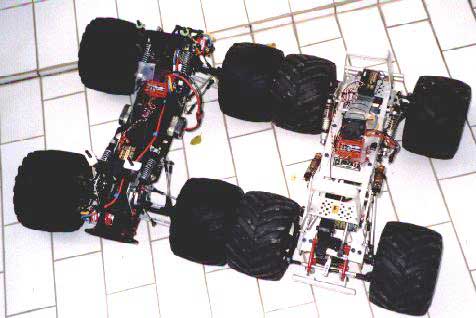
Chassis and Parts The second picture shows the Sassy wishbones again as well as the Sassy slider outdrives. I had stayed away from the USA-1 because of the weak wishbones. I had some problems with the set of sliders that originally came with this truck (I bought it second hand). The steel outdrives would bend each time I hit anything. Sassy's owners explained that it was probably a manufacturing accident and promptly worked with me to solve the problems. The third pic shows more Sassy parts: slider outdrives, cantilever suspension, bellcrank steering and super 4-link rods. The 4-link rods add durability to the sustension setup. Because of the extended wishbones, impact to the wheels have a lot of leverage on the gearbox, these rods help to beef up the whole setup. Steering
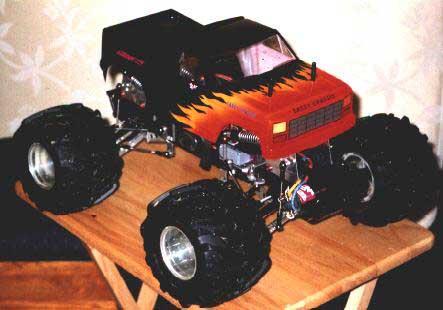
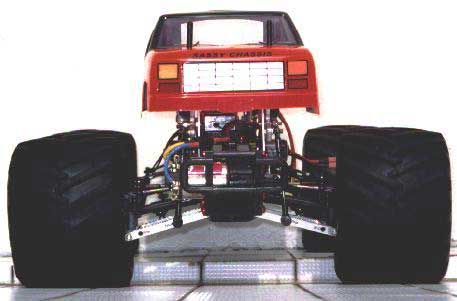
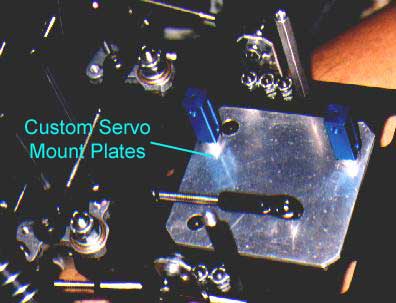
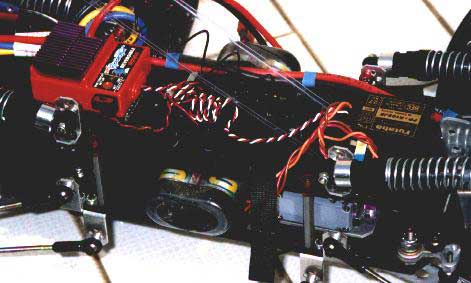
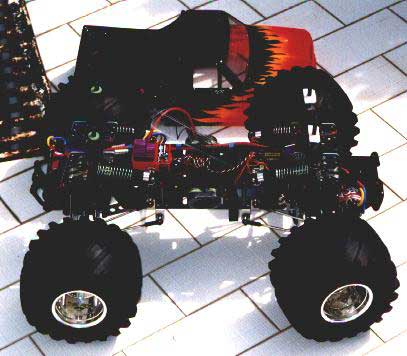
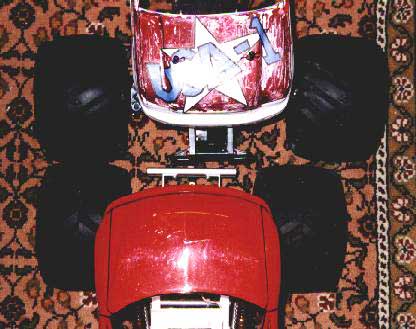
Setup & Gear In the middle you can see my custom servo mount. I don't like drilling holes in my chassis so I made this to mount my servos. It should be noted that Sassy's chassis has multiple positions for mounting the battery and servos. You can use single servo for 2ws or 4ws OR dual servo for 4wd. It even has a special mounting position for a 1/4 scale servo. The last 2 pictures on the right a pic of my gear: SuperRooster ESC, Deans plugs, Deans ultrawire, FMA Direct S3601 servo, Futaba receiver and unseen are the full bearings. Articulation Both trucks side by side with covers off... Clod looks rugged with all it's metal whereas the USA-1 looks sleek with the graphite and black components. Thought you might like a pic of the difference in widths of the 2 trucks. The extra inches on the USA-1 make a huge difference in the stability department. Clod
Comparisons That brings us to the end of our Phase I tour. Click here or on the right arrow below to proceed to Phase II. |