| Phase
I
The stock dagger is
smaller than the Clod with tires of 130mm in diameter, but it runs on
dual motors too. As such, Tamiya has really broken new ground with it
- it isn't as huge as the Clod/USA-1 type trucks but it's more powerful
than the other 2WD monster trucks of similar size. It employs what Tamiya
refers to as Symmetrical Chassis Concept, where many parts are identical.
Front and rear trannies are identical and the 2 chassis halves connecting
the gearboxes are also identical (as opposed to 2 'mirror' parts of each
other like in most chassis).
Box
Scans


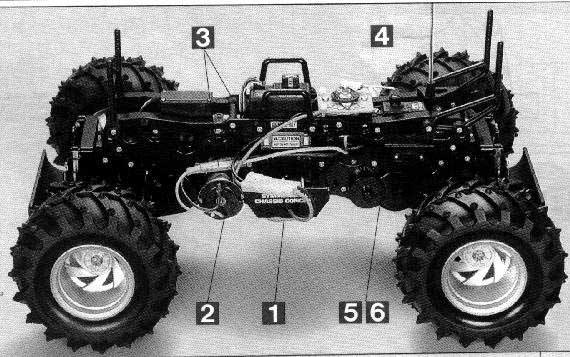
You can see here where the manual speed control and throttle servo go.
There are also cool 'rollbars' to protect the receiver when the truck
flips! I like the 'exo-skeleton' type styling that this truck employs.
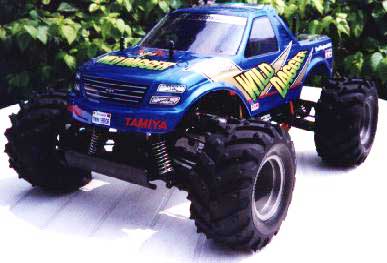
Body
Pics
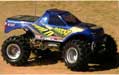
I followed the suggested paint scheme and used all the Tamiya supplied
decals. The body is great and has huge wheel wells to accomodate the tyres.
Tips on applying decals - use a soap & water solution on the area to be
applied then position the decal. The solution allows the decal to be adjusted
and if not positioned properly it can be easily removed for another attempt.
Then use a hair dryer to dry the solution and fix the decal on. The hair
dryer also shapes the decal to fit curves very nicely!
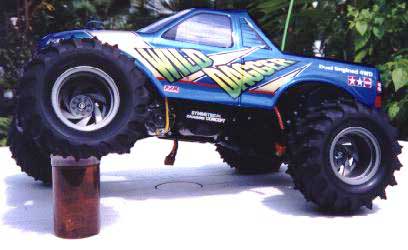
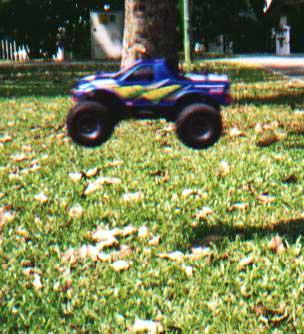
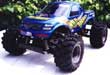
In the side-shot of
the dagger, you can see it's ground clearance which is about 2.25" or
5.8cm. This shot also shows the directional wheels which are nice but
they are a little on the soft side and flex easily.
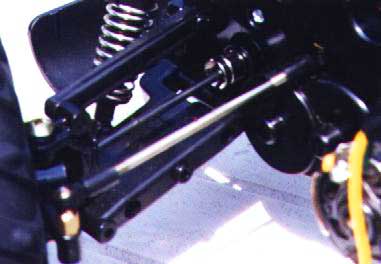
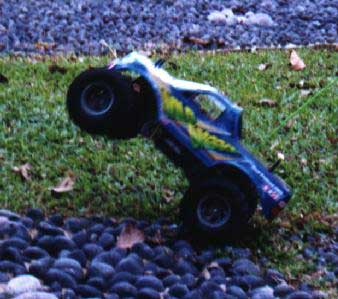
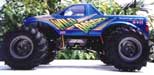
Here's a picture showing the articulation of the dagger. Because of the
stock shocks, which have VERY limited travel, the articulation is not
optimized. I get about 3" with the stock setup which is about 7.5cm. The
stock shocks are easily the weakest part of the dagger's design. They
are shorter than most shocks used in off-roaders but that's not the problem.
The problem is that they provide little damping and travel... I haven't
been confident to jump this truck because of this. However, when I upgrade
them to oil-filled units, I am sure this truck will perform better. Any
3" shocks should bolt right on.
 Back To Top
Electronics
Layout


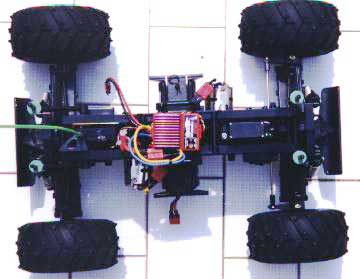
On the right, I had to re-arrange the electronics since I did not want
to use the kit-supplied manual speed controller. I placed the Rooster
ESC where the receiver was supposed to go and then placed the receiver
where the steering servo was supposed to be. To keep the centre of gravity
low, I made a special mount out of aluminium to put the receiver as you
see it in the picture... this position also keeps the layout clean while
allowing the antennae wire to go straight into the antennae tube.
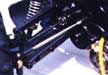
In the middle you
can see the suspension of the dagger. Fixed upper links mean no adjustable
camber without aftermarket parts. But this is fine with me since the truck
seems to handle fine with the stock setup.
Lastly, In the top-down
shot of the dagger, you can see it's neat layout. My Rooster ESC fits
where the receiver is supposed to go.
Back To Top
Performance
& Action Pics


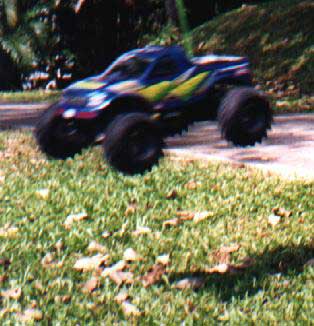
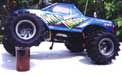
I have recently bashed the truck really hard and have been impressed with
it's durability. It flipped and cartwheeled but kept coming back for more.
I am constantly impressed with what this truck is capable of. The flexible
plastic that this truck is made of appears to add to it's ability to take
abuse.
Back To Top
Click here
to proceed to Phase II.
|